
Even though it is a common task, many people don’t know how to paint on bare plaster. It’s straightforward, but you have to follow the proper steps! So, even if you are a polished DIY painter with lots of experience or want to hire help, here’s what you need to know to help you complete your paint job on your bare plaster. First, let’s talk about why you might want to paint on your bare plaster.
Paint on bare plaster can make your room look professional and finished, even if the project is still in progress. Often, we will discuss this detail if you are completing an entire room or redecorating.
If you need to use your room for something like an event or a photo shoot and the walls aren’t ready yet, painting over the bare plaster will give it a more finished look. But first, let’s discuss important things that you must consider before painting on bare plaster.
Painting bare plaster requires proper preparation and technique to achieve a smooth and durable finish. Keep these key points in mind for the best results:
Fresh plaster must be completely dry before applying paint. Painting too soon can lead to peeling or bubbling. Depending on thickness and environmental conditions, the drying process may take a few days to several weeks. A moisture meter can help confirm when the surface is ready.
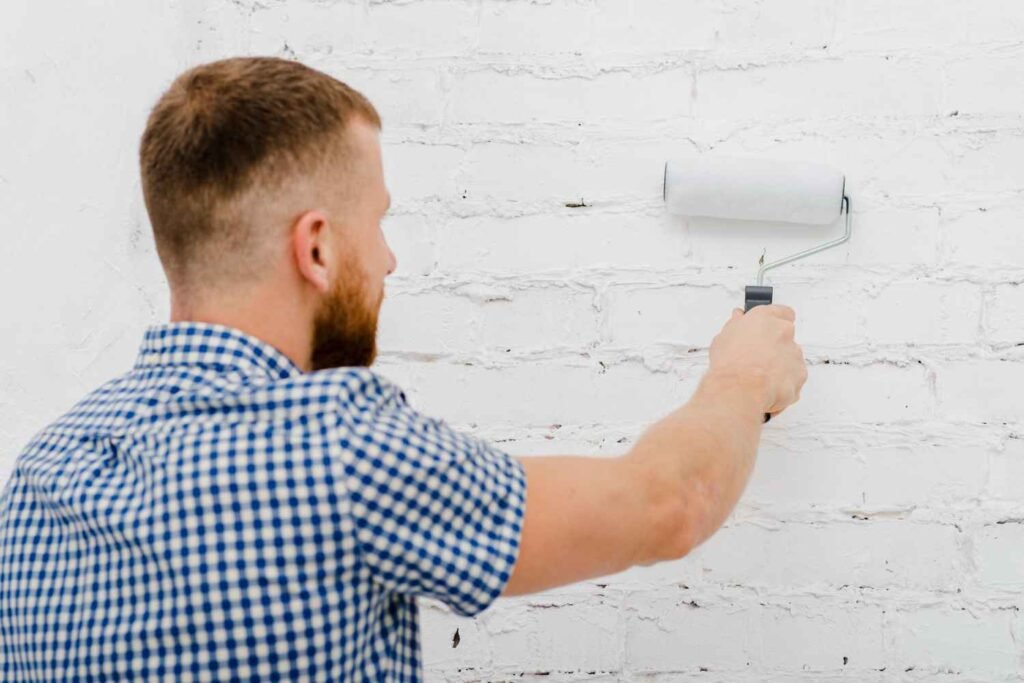
A mist coat—a diluted layer of paint—serves as a primer for bare plaster. Mix a water-based emulsion paint with water (typically three parts paint to one part water) and apply it evenly. This step prevents excessive absorption of the topcoat and enhances paint adhesion.
Use high-quality, breathable paints designed for plaster surfaces. Water-based emulsions are ideal as they allow moisture to escape, reducing the risk of dampness or mould. Avoid oil-based paints initially, as they can trap moisture, causing potential issues over time.
Once the mist coat has dried, lightly sand the surface to remove rough patches or imperfections. This ensures an even base for the final coats, resulting in a professional finish.
Instead of using a thick coat, apply two or three thin layers for even coverage. This reduces streaks and promotes uniform drying. Follow the manufacturer’s drying times between coats to achieve the best results.
Proper airflow helps the paint dry evenly and prevents the buildup of fumes. Keep windows open or use fans if necessary to improve circulation.
Inspect the plaster for cracks, holes, or uneven areas before starting. Use a suitable filler to patch any flaws, then sand them smooth. Applying a mist coat over repaired areas ensures a consistent finish.
Whether you’re hiring professionals or doing it yourself, follow these simple steps:
Before painting, remove dust, dirt, or debris using a damp sponge. Even new plaster can have residue that affects adhesion. Allow the surface to dry fully before proceeding.
Check for cracks, holes, or uneven areas. Use a filler to patch imperfections, then sand the repaired spots smoothly. This creates a solid base for painting and prevents future damage.
Prepare a mist coat by mixing one part of water with five parts of water-based emulsion paint. Apply evenly with a brush or roller, allowing the plaster to absorb the paint properly. Let it dry completely—this may take 24 hours or longer, depending on conditions.
Once dry, sand the surface with fine-grit sandpaper to remove rough patches. Wipe away dust with a damp cloth before moving on to the next step.
Using high-quality paint designed for plaster, apply the first coat evenly with a roller or brush. Work in small sections to ensure uniform coverage. Allow it to dry completely.
Once the first coat is dry, add a second coat to achieve a polished, even finish. Use the same technique, ensuring smooth and consistent application.
Check for any missed spots or uneven areas. Touch up as needed with a small brush or roller for a flawless result.
Allow the painted surface to dry for at least 24 hours before decorating or handling. This ensures proper adhesion and prevents smudging or damage.
Although painting on bare plaster will enhance the grace, there are some important factors to consider to avoid imperfections. However, it is always recommended that professional painters and decorators be hired to do the job.
You can contact us today to get a custom quote for your property and learn more about how we can upgrade your space.
Platinum Paints is a well-established team of Painters and Decorators based in Richmond, London. We serve most of the areas of London, including Fulham, Chelsea, Ealing, Central & West London.
Copyright © 2025 Platinum Paints. All rights reserved.